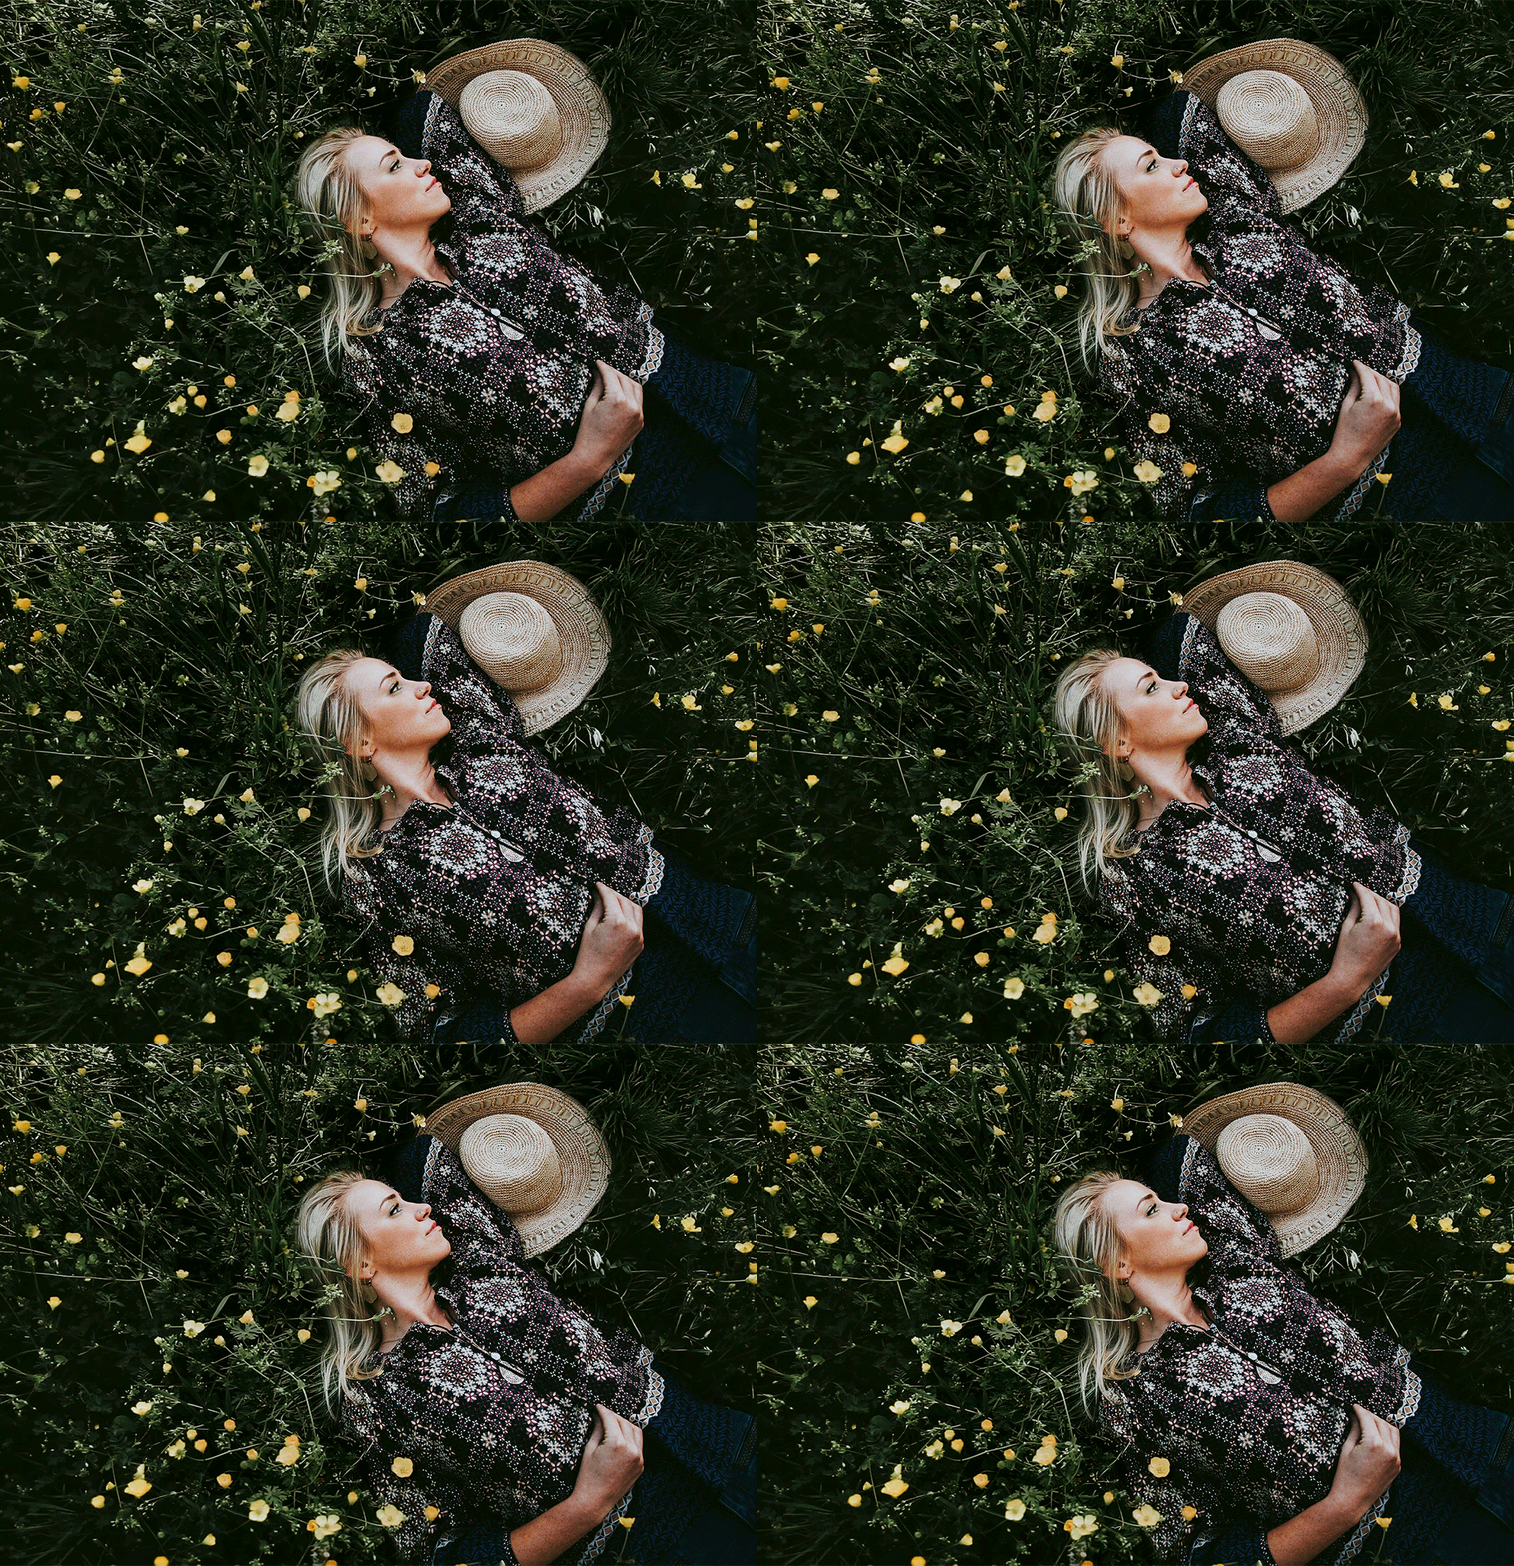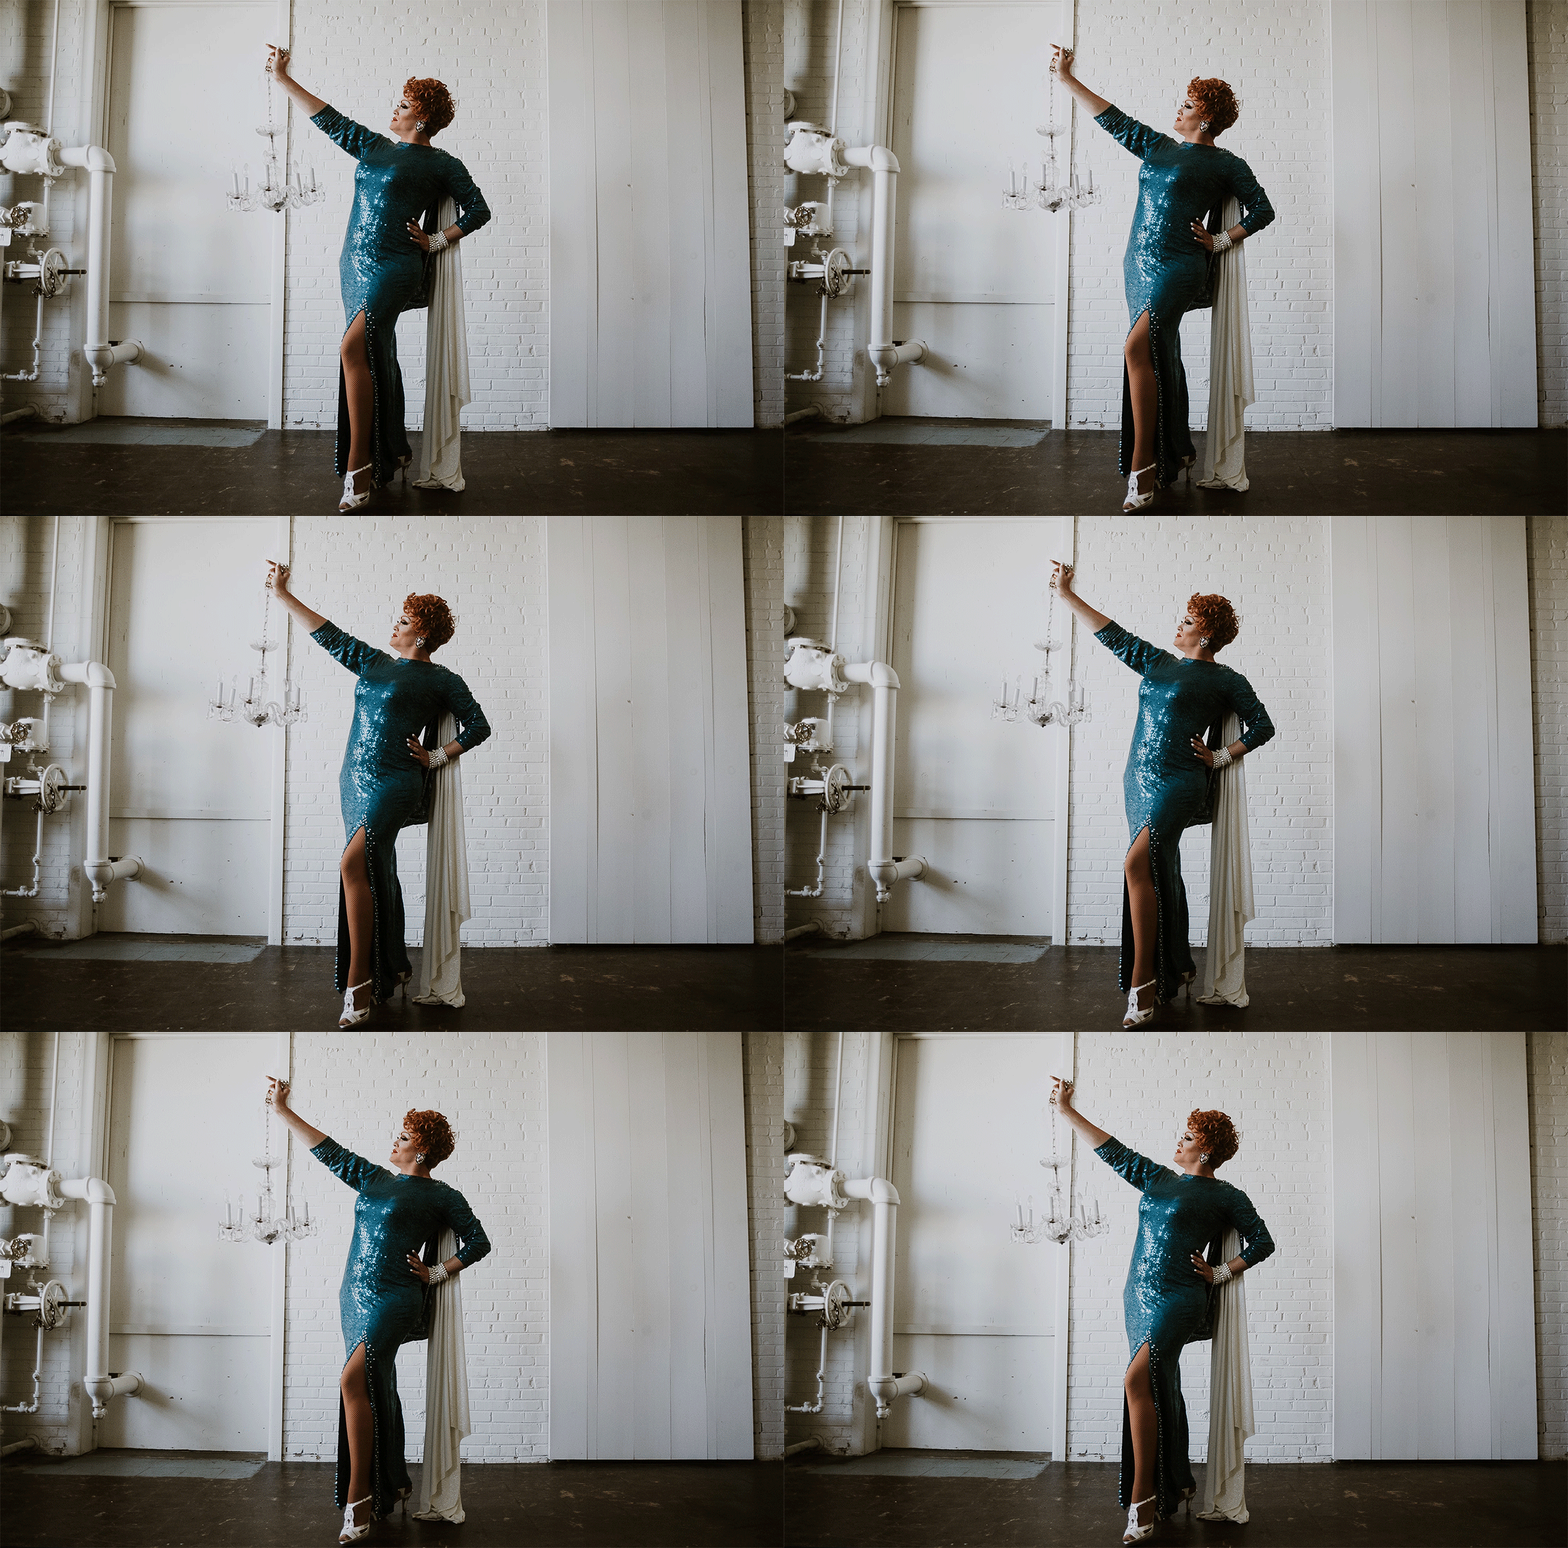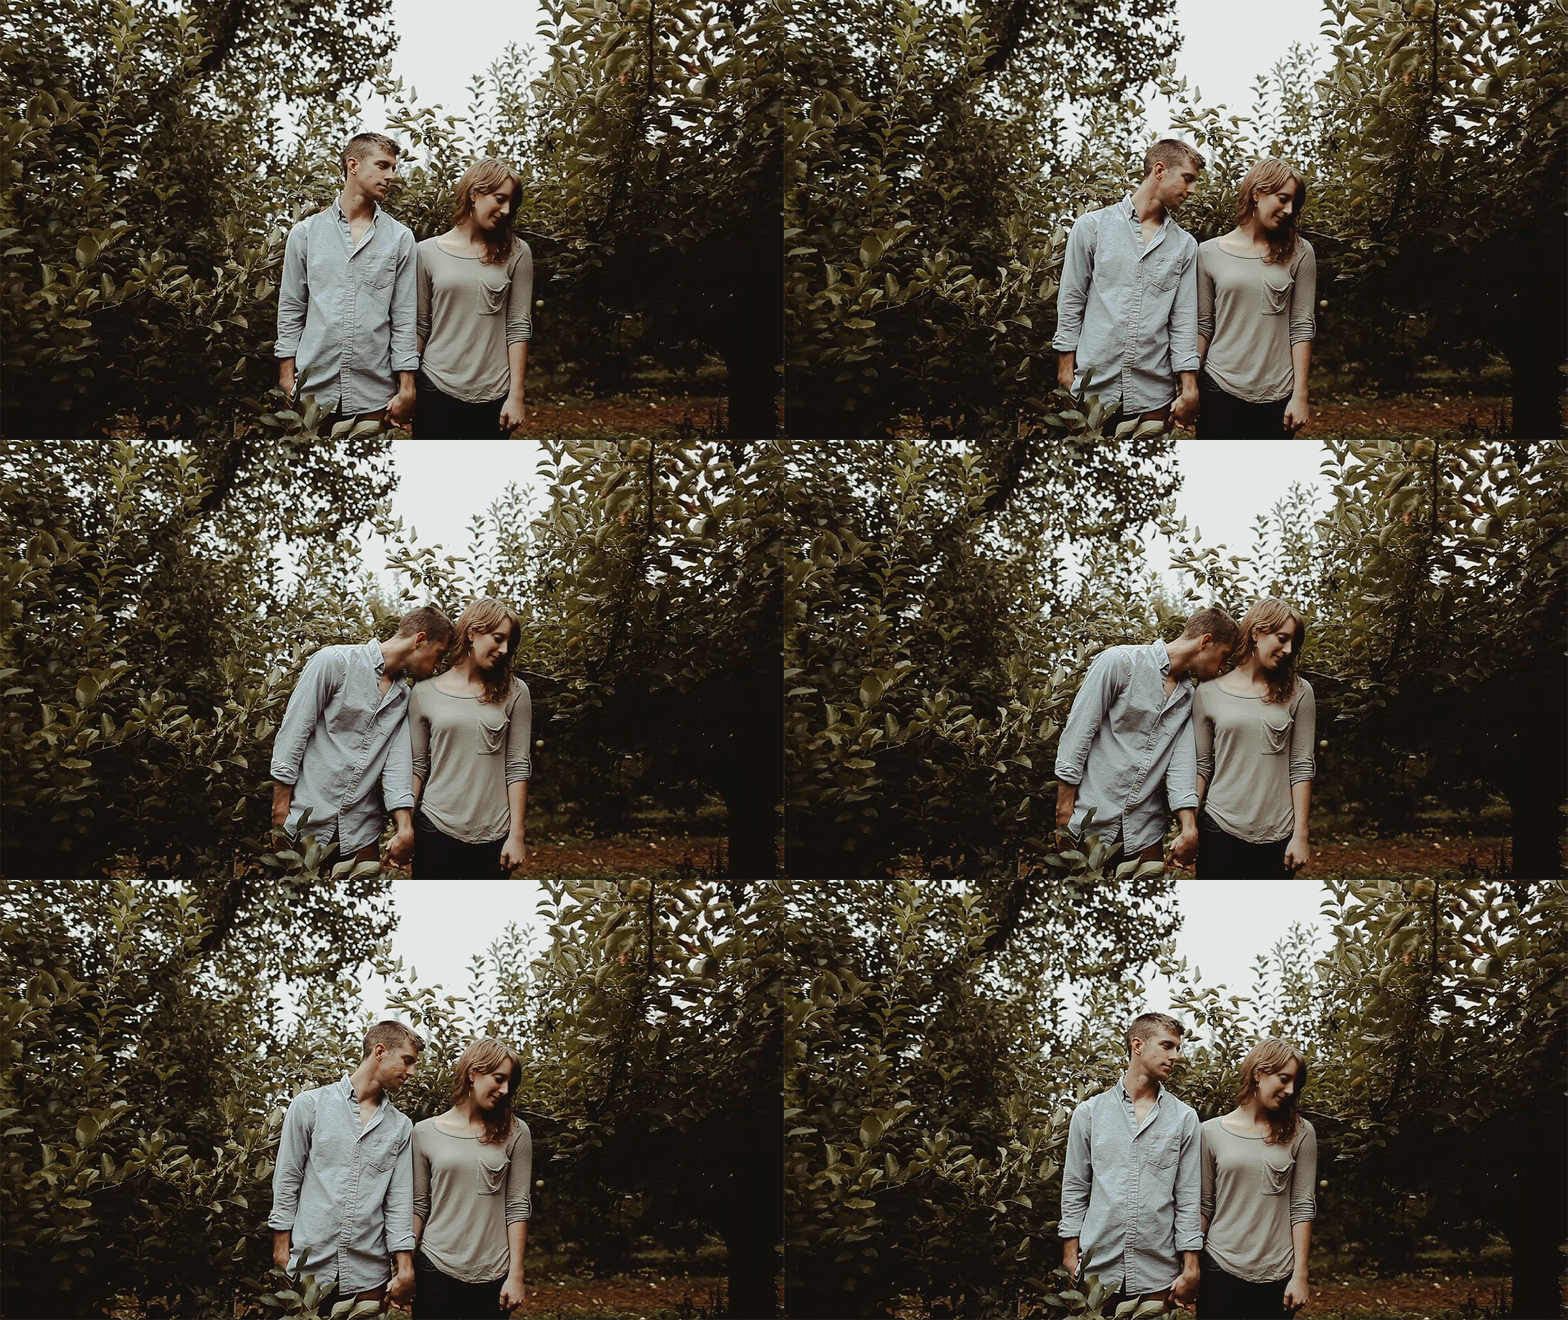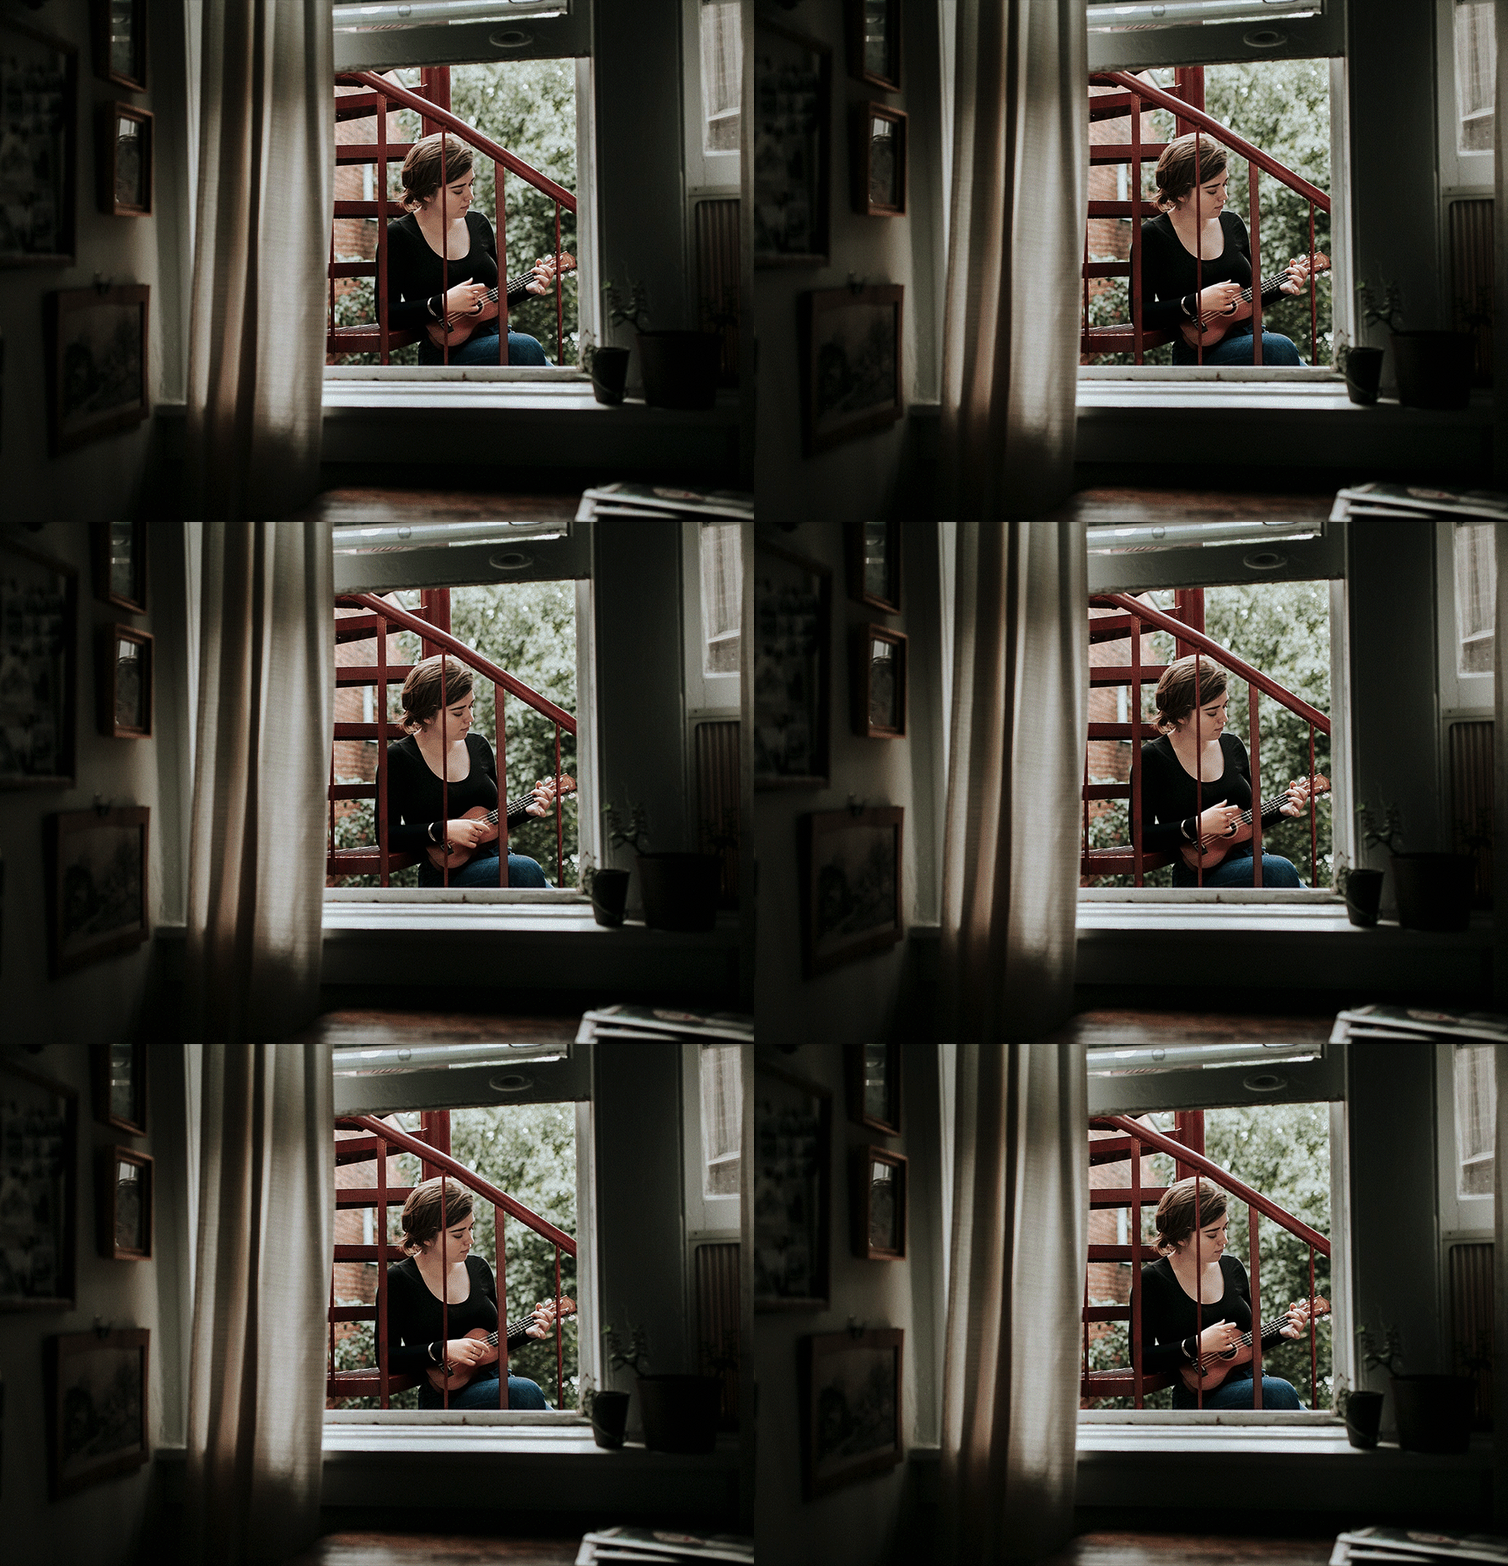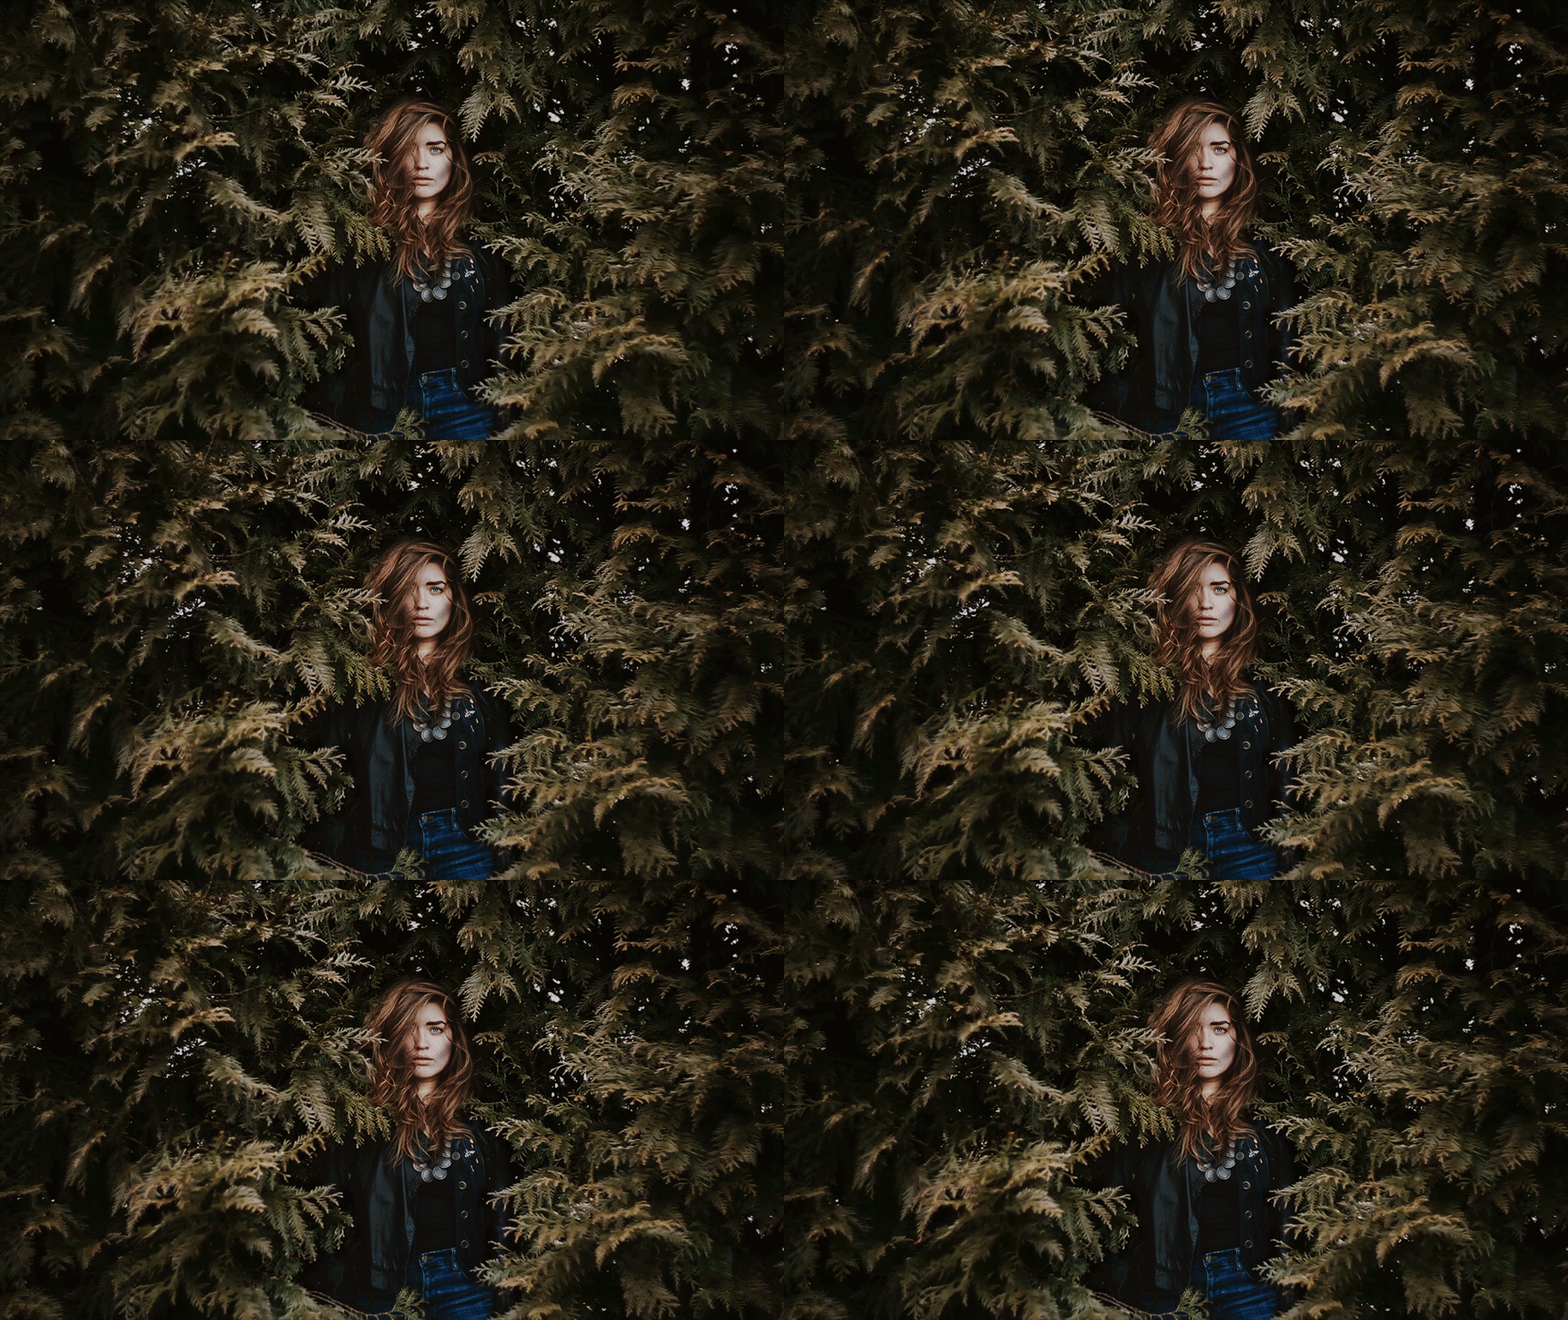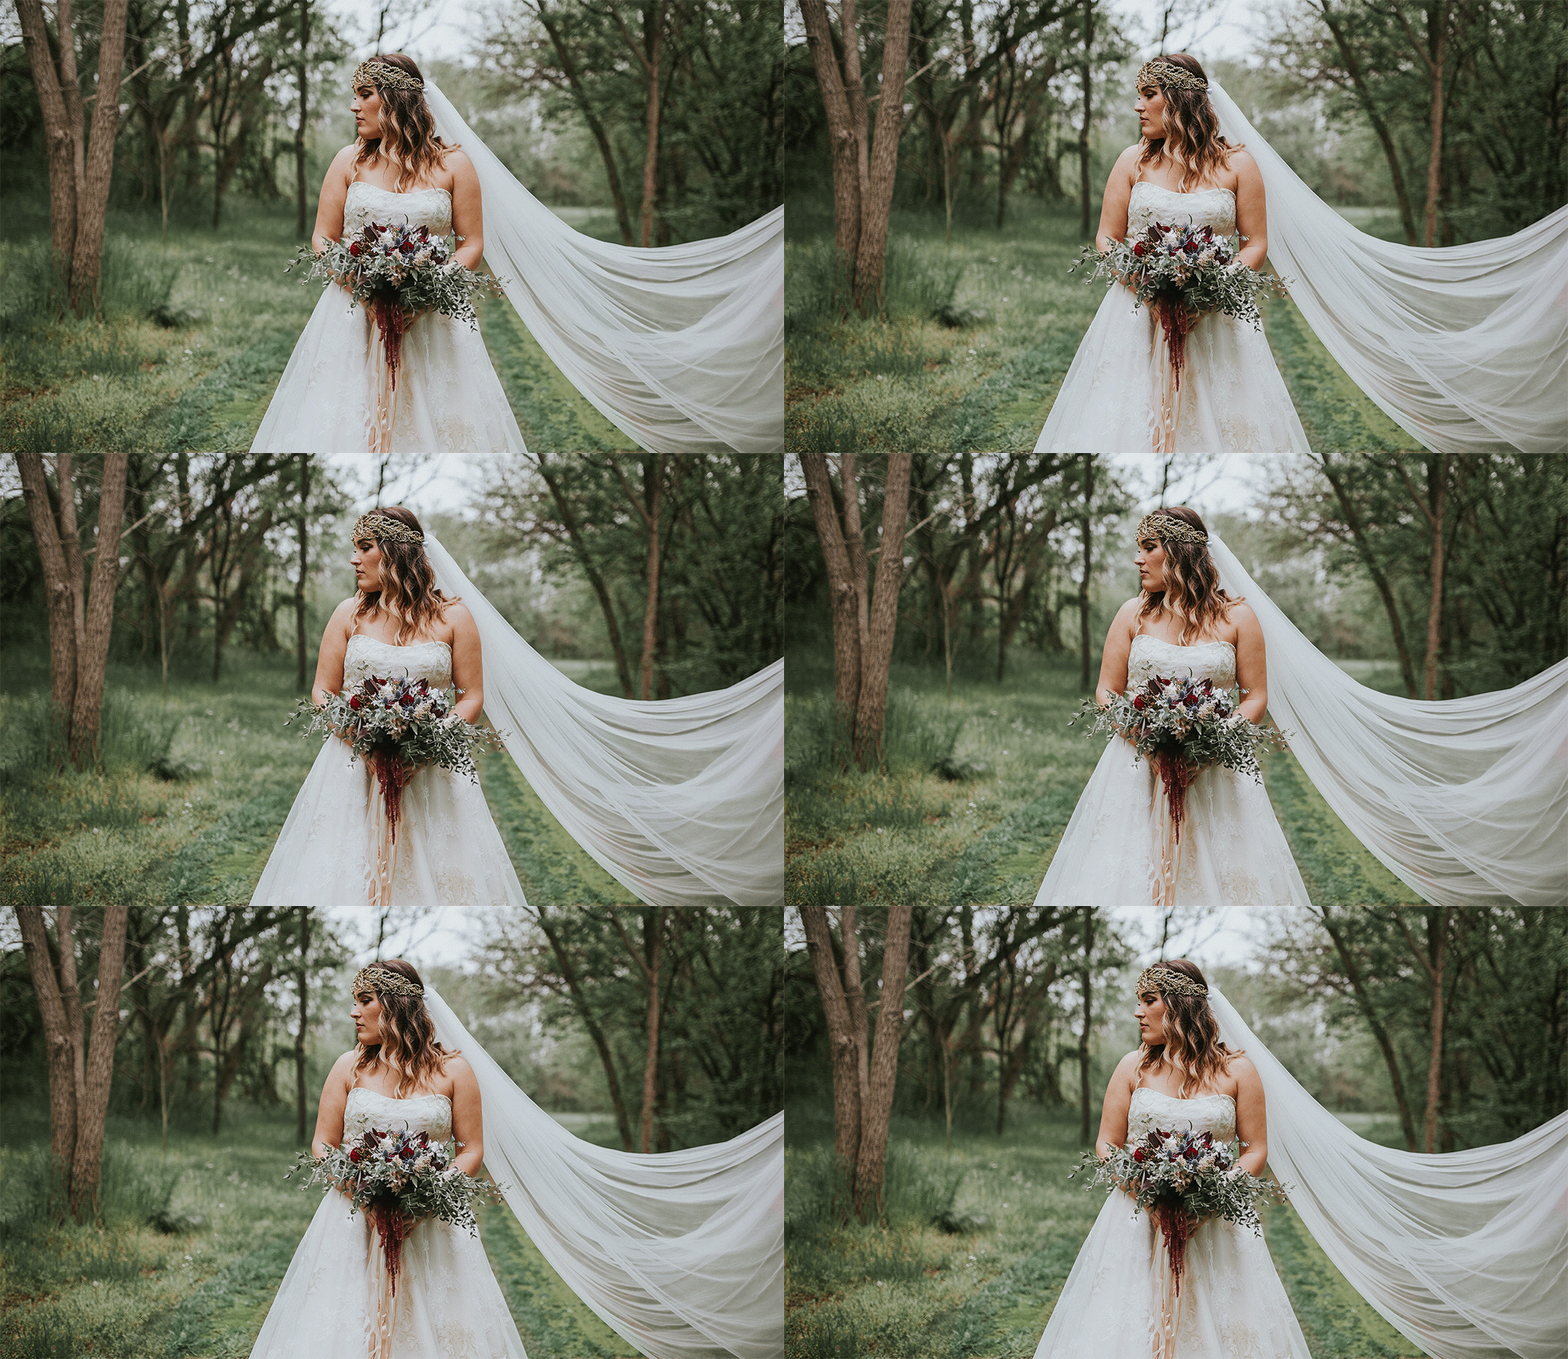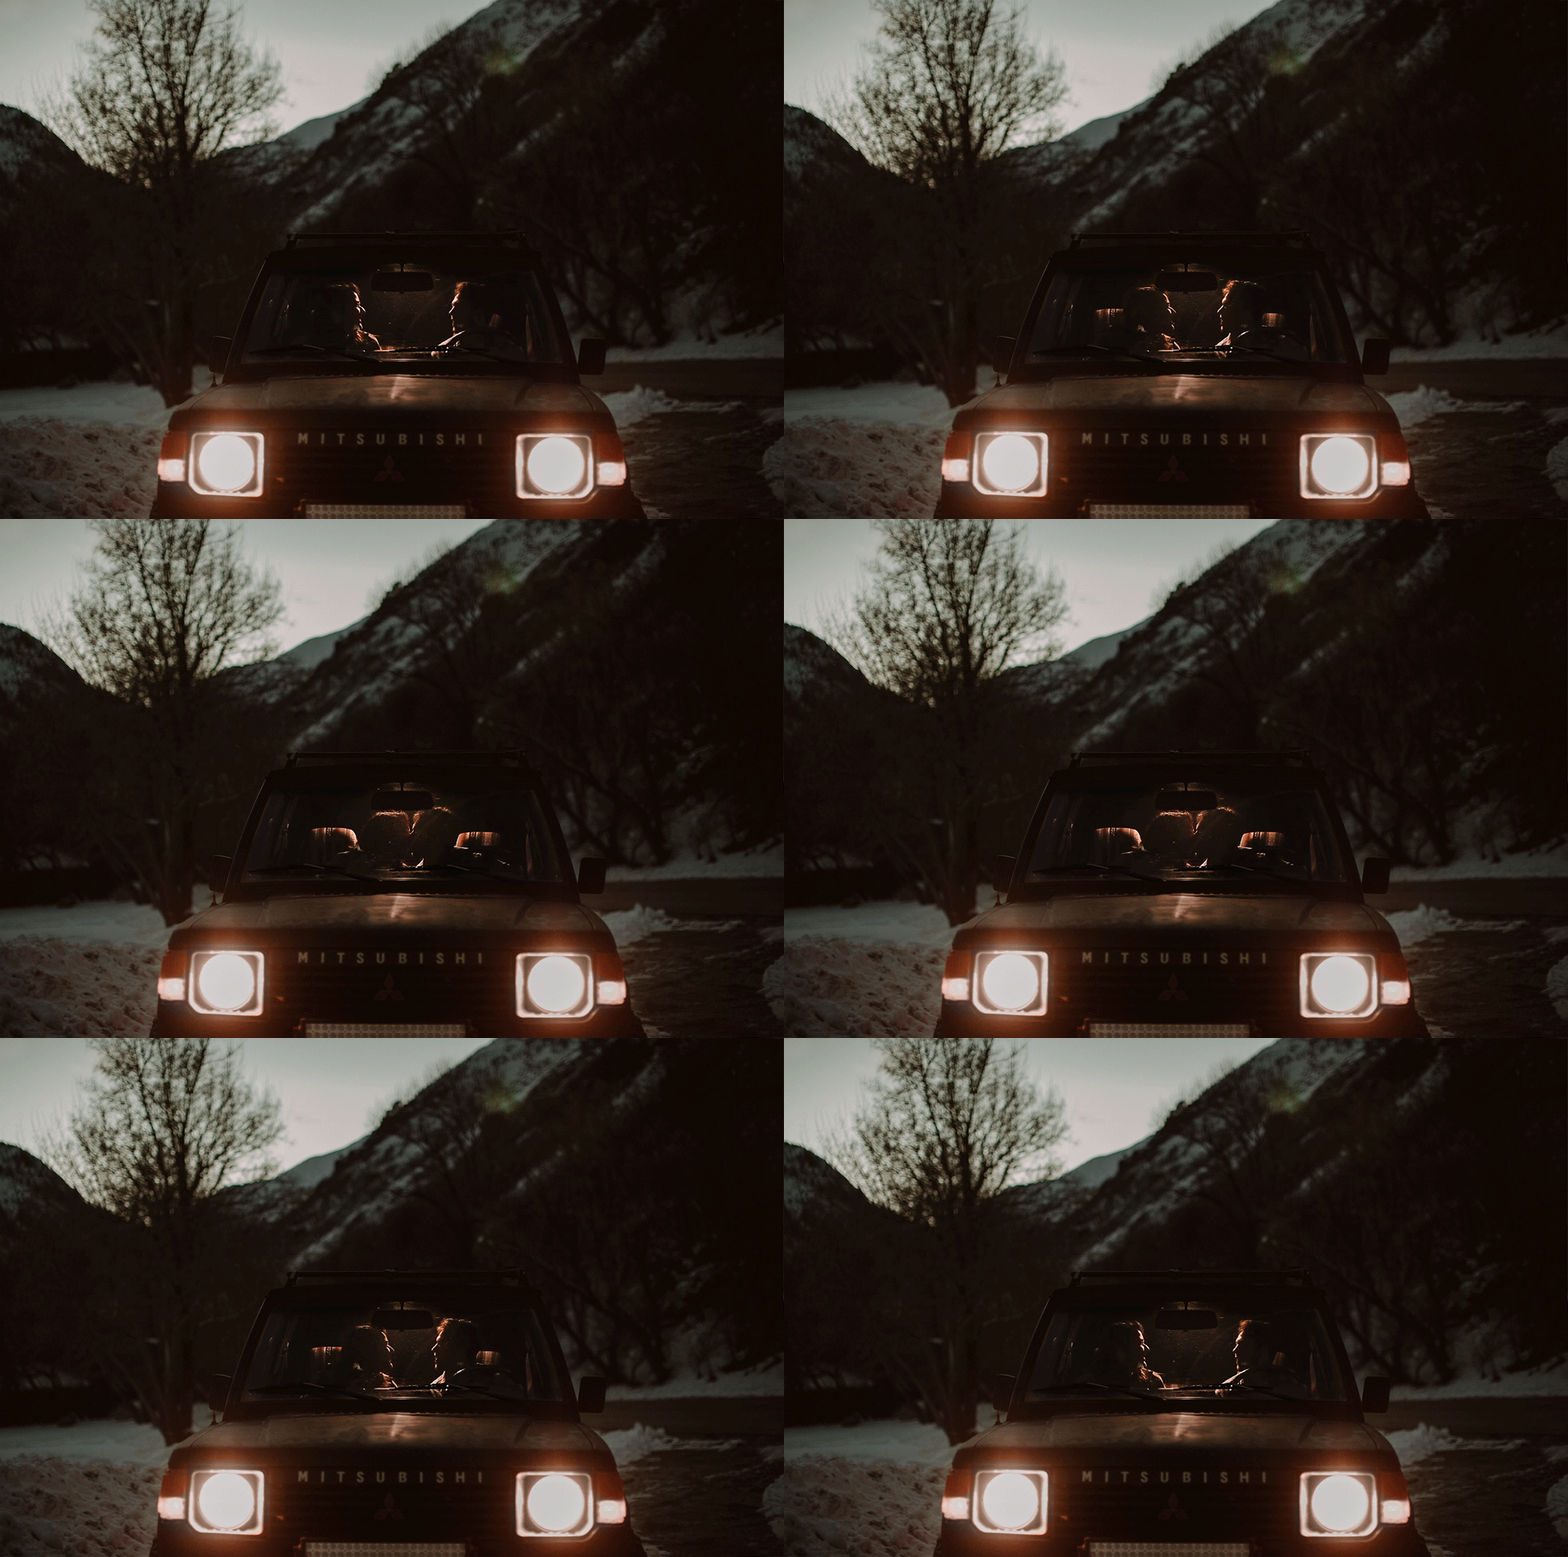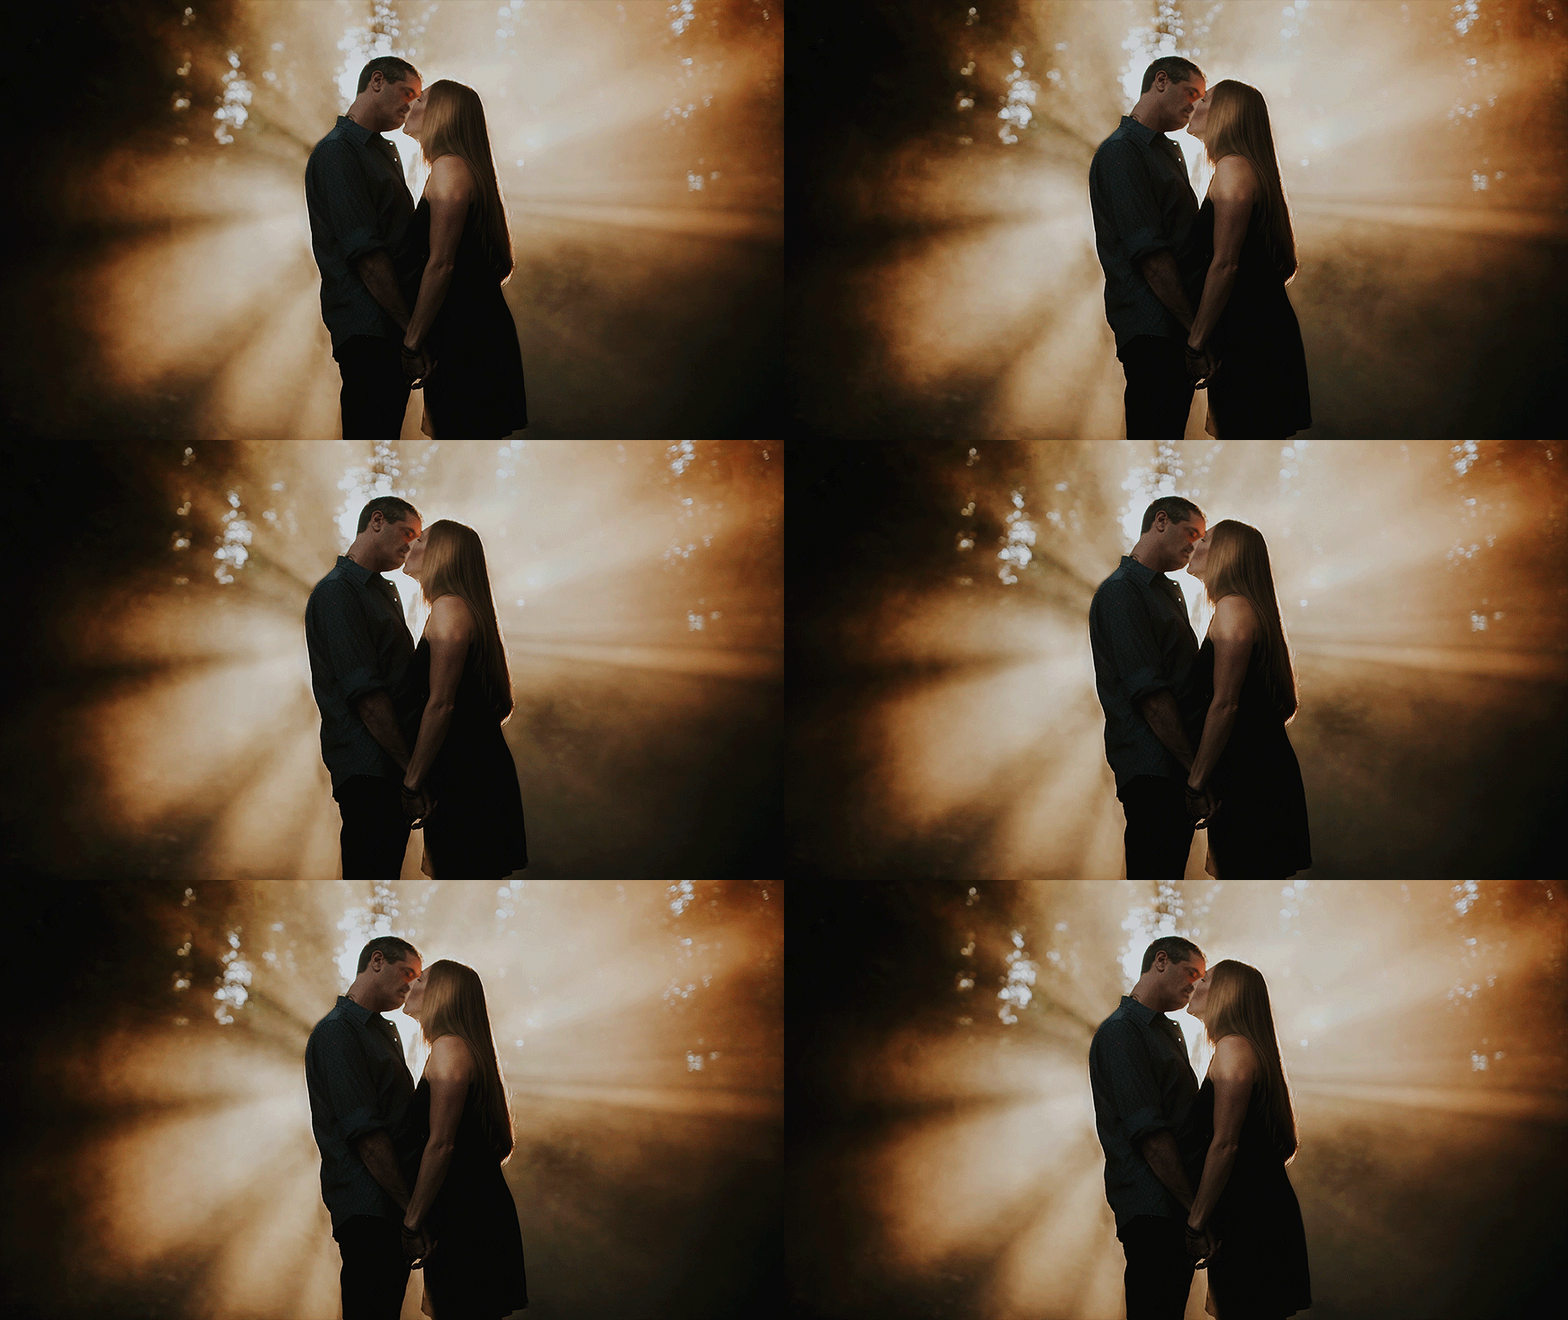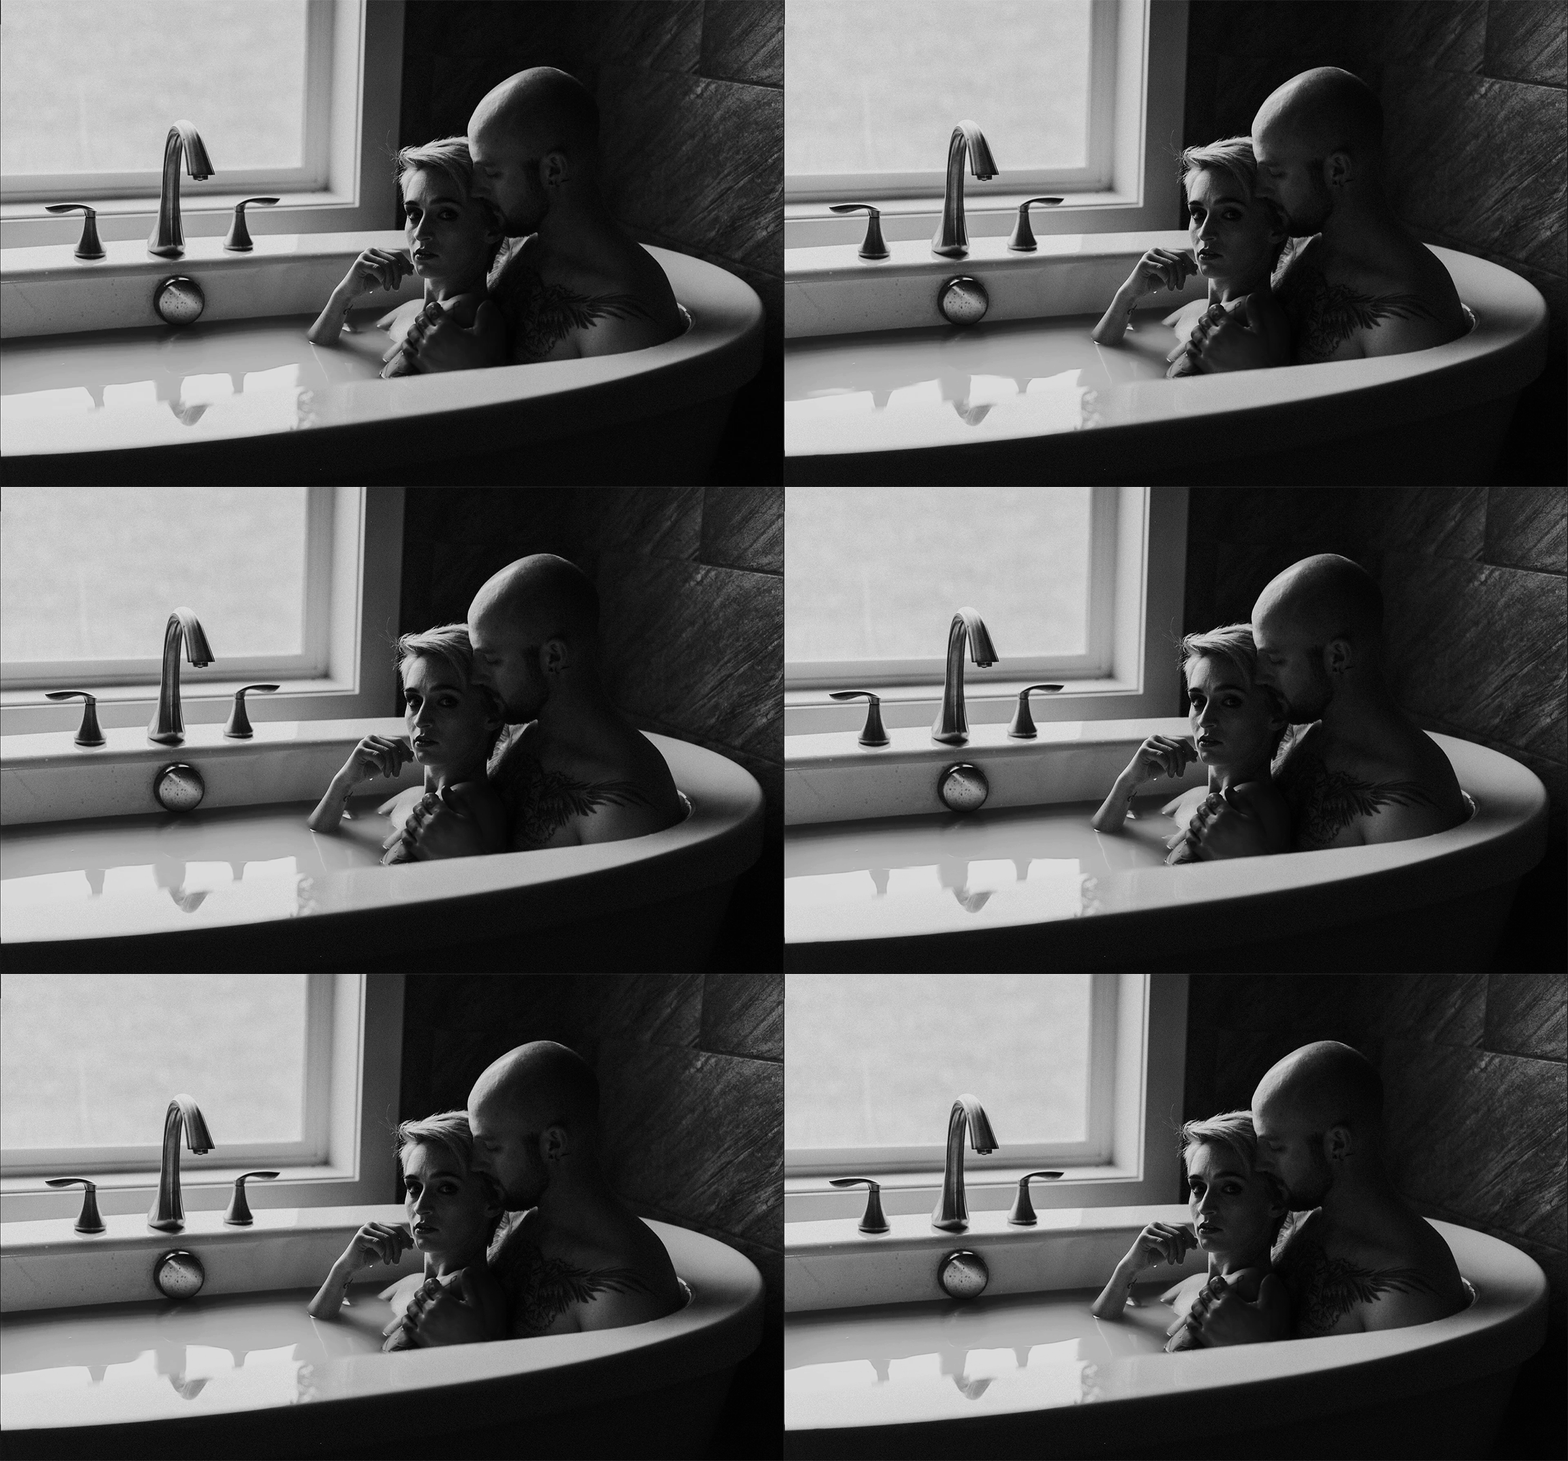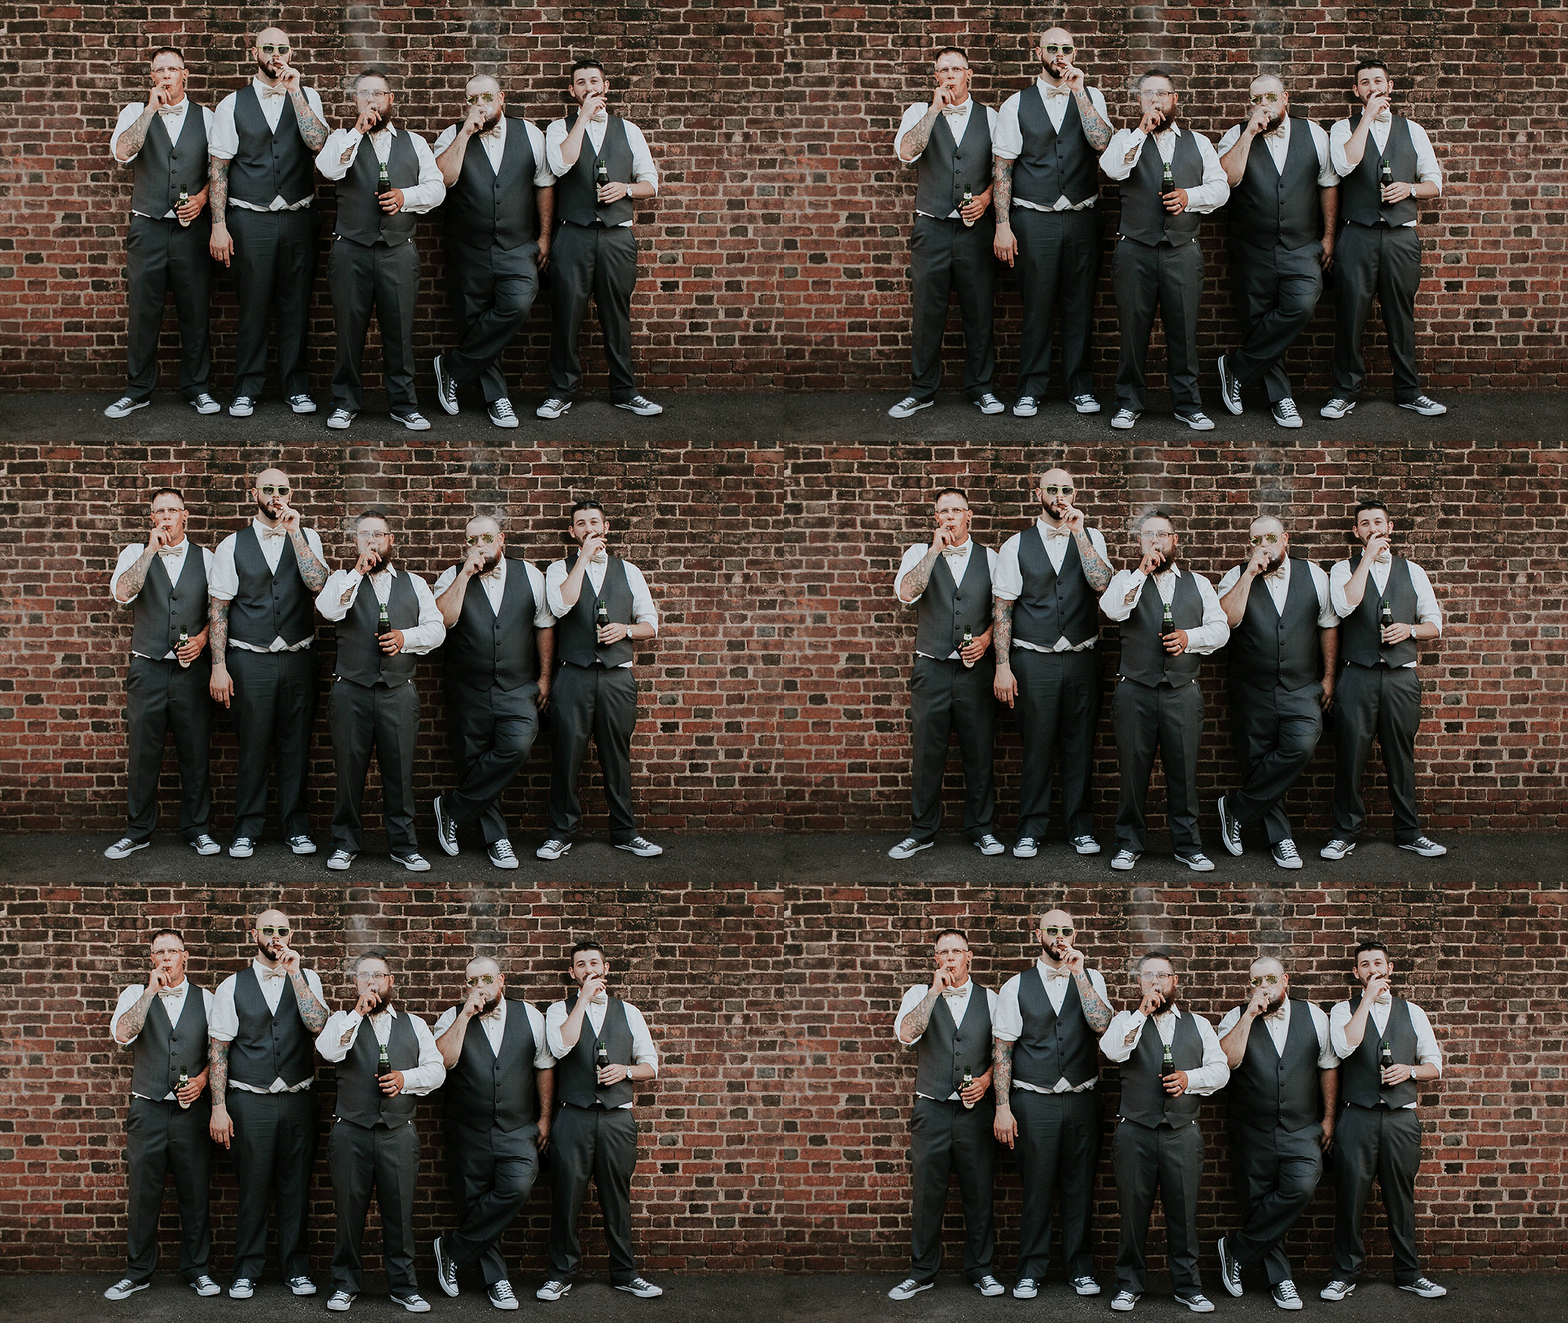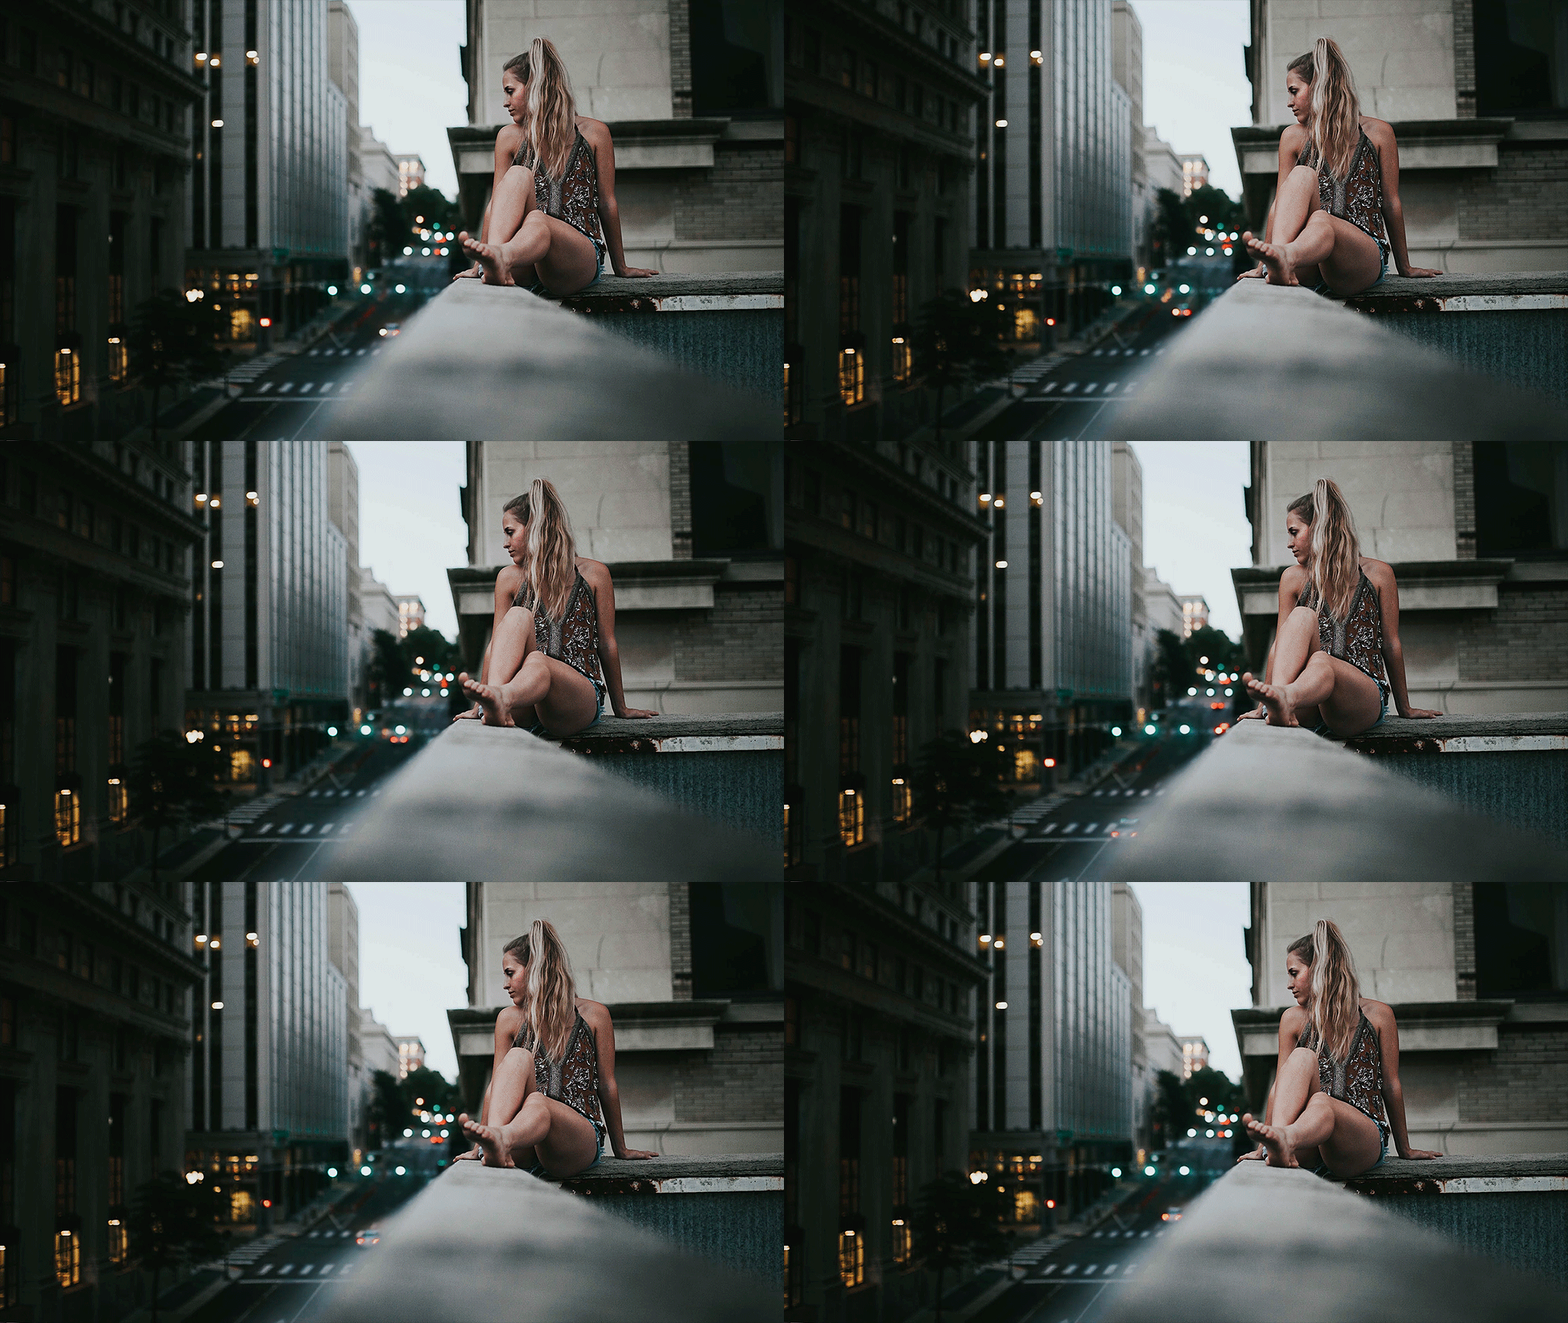
You’ve probably noticed Meagan Abell’s work on various photographer social groups and websites. Meagan happens to be a master when it comes to cinemagraphs + GIFs. And, if you’ve been paying attention, then you’ve also noticed that what Meagan does is starting to become a popular way for photographers to explore their creativity and go above and beyond for their clients. Not only has Meagan had enormous success sharing her work with peers, but her clients love her moving images just as much as the rest of us! If you’re interested in learning more about making cinemagraphs, stay tuned, as Meagan is here to share all the details!
The cinemagraph – it’s a mesmerizing in-between-video-and-photo thing, where a split second in time is not only captured but becomes an infinite, almost-tangible living thing. Think of a cinematograph as the Wes Anderson of GIFs – they’re whimsical, aesthetically pleasing, and they have just that little dash of magic that totally sets them apart from anything else.
When I started my gifography journey, (gifs + photography), I had been stuck in a ridiculously deep creative rut. At that point in my career, I was at the end of my rope – I felt like I had lost my unique spark and that my images were starting to look just like everyone
else’s, and it was mega bumming me out. It was around that time that I stumbled across the work of the genius creative team of Jamie Beck + Kevin Burg, the creators of the cinemagraph. I was shocked, I was amazed, and soon – I was obsessed.
There weren’t many tutorials available online at the time for creating cinemagraphs – but I was absolutely determined to absorb any kind of information I could find on the subject. Over the next few months, I played the game of trial and error until I figured out more or less what the heck I was doing, and steadily improved my technique. Soon I was shooting cinemagraphs at every session, trying to see if it would be worth it to incorporate them into my packages. Spoiler alert – it totally was. People adored them and were sharing them like crazy – so thank goodness I was totally addicted to making them because they became my most highly requested service. I’ve even had a good number of clients who told me that a big part of the reason they booked with me is because of my cinemagraphs – and that’s an amazing feeling.
Online and on social media, most people identify me by my cinemagraphs and GIFs now, which suits me just fine. Most importantly, though, I know that finding my niche with cinemagraphs + gifs catapulted me out of the creative abyss I had slowly been falling into, which I am eternally thankful for – and I’m stoked to see where I can go with them in the future.
At its core, gifography is more or less the same thing as photography – you’re using visuals to evoke emotions or thoughts, and capturing moments in time. With cinemagraphs, you’re simply adding another dimension to the equation – movement. At first, it can be a bit tricky to recognize what does or doesn’t work, or to achieve a seamless loop, but once you conquer that learning curve, you’ll begin to see cinemagraph opportunities everywhere you look. Like I mentioned, it becomes addictive.
Here Are a Few Tips and Tricks to Get You Started
Step 1: Choosing Your Composition
One of the keys to a great cinemagraph is the same as it is for still images – balance. When choosing your composition and your motion, keep in mind that wherever the most obvious movement is happening, that’s where the eye is going to be drawn. Always be aware of your light, your focus, and your subjects, just like you would for a static image! Then, once you get the hang of the technical aspect of cinemagraphs, your eye will start to become automatically drawn to the ways motion interacts with light, and how to incorporate that into your compositions to really make them pop.
Step 2: Choose Your Motion
The other key to a kick-ass cinemagraph is choosing the right kind of motion. Again, balance is very important here – too much motion will overwhelm your viewer, and too little motion won’t make an impact and is a bit pointless when creating a “living image”. The ultimate goal is to capture a single moment in time within an infinite loop – therefore making that one moment immortal. Consider your client/subject and their personality, as well as the kind of emotion and feeling you want to evoke. Jumping, twirling, and spinning are great for your goofy and playful folks! Try having one-half of your couple spin their partner out and back in as if they’re dancing a jive, or have them hold both hands and twirl around like we all used to do when we were kids. Tender, subtle gestures and light breezes are ideal for a more intimate feel. Maybe have your couple touch foreheads while one of them gently caresses the other’s cheek, or, if there’s a calm wind, have them embrace while the breeze ruffles their hair and clothes.
Step 3: Burst Mode VS Video
There are two distinct techniques used to shoot a cinemagraph – and choosing which one to use all depends on what you’re shooting, and what kind of feel you want your cinemagraph to portray. For both options, try and shoot the same motion in multiple takes, so that way you have plenty of raw footage to play with in post! (Plus, doing multiple takes helps your subjects relax a bit, and the motions look and feel a bit more natural.)
For bigger motions, (twirling, jumping, running, etc), or to create a sense of fun and excitement, go with your Burst Mode. This is where you hold down your shutter to capture a “burst” of frames in a short span of time. Make sure to switch your camera into “continuous shooting mode” to make sure you’re capturing a plentiful amount of frames to work with.
For smaller, subtle motions, (blinking, wind in the hair, ripples on the water, etc.), or to portray more of a soft, intimate feel, go with Video. Typically Video is going to allow you to record more frames per second without having to hold down a shutter, helping you capture much more fluid movements, as well as bringing a more “lifelike” quality to your end product. The only downside to this option is that some cameras aren’t going to shoot the highest quality video, and it can make shooting in certain situations, (like in lower-light and mixed-light), tougher. Refer to the specs on your own camera to determine if that’s the case for you, and remember to take that into consideration when shooting!
Step 4: The Perfect Loop
What really sets cinemagraphs apart from everything else is a flawless, seamless loop. You don’t necessarily want people to be able to tell where your cinemagraph begins and ends – that’s the magic of it! Make sure to take this into account when choosing your motion and your shooting technique, (Burst Mode, stop-motion style cinemagraphs will be a smidge easier when it comes to this part since there’s a bit more of a jump between frames!) Look for naturally recurring movements, like water flowing, smoke/steam rising, or even blinking – or create your own with things like wind in the hair, a kiss on the cheek, or someone walking completely through your frame. You want the beginning and end frames to be as similar as you possibly can – that will make your work in post a million times less complicated!
A Few DO’s and DONT’s to Keep in Mind:
DO use a TRIPOD. Seriously, is a must unless you decide to create something on the fly. You will kick yourself later if you don’t use a tripod. I know this from experience.
DO overshoot! I know, it goes against our better judgment to “spray and pray,” but in this case, especially if you’re just starting out with GIFs, more is better! Doing multiple takes and small variations will give you more options to work with in post, plus you can figure out what works for you and what doesn’t.
DO shoot a specific masking layer! This is especially important with video! Your masking layer is the static image you overlay onto your frames/video. Let’s pretend you’re standing in front of a wall with no windows, so you can’t see what’s happening on the other side. This wall is your masking layer, and when you’re creating your cinemagraph, you’re essentially cutting out windows, (or erasing parts of your masking layer!) where you want your movement to show through. Shooting a specific image for this layer, especially with video, will preserve the quality that you might otherwise lose. Without this image, you’ll need to take a screenshot of your video to use as your masking layer!
DON’T forget to check your focus! If there’s one thing that makes me sadder than an accidental out of focus photograph – it’s an out of focus GIF! Of course, you can take artistic liberties, I’m not here to harsh your mellow, but be cautious when shooting your footage wide open since live subjects don’t tend to be able to stay statue-still. If you have Live View – digitally zoom in on your composition to double check that everything is as sharp as it can be.
DON’T be afraid to go wild with it! Like with any creative medium, there’s no limits to the potential possibilities with cinemagraphs. There’s no right or wrong way to create. All I’m here to do is share my experience and what I’ve learned works for me – but you can tell me good riddance and take cinemagraphs to a whole different level – and that’s A-OK.
DON’T get discouraged!!! Seriously, it took me a loooong time before I was truly thrilled with the cinemagraphs I was producing. You’re going to run into technical problems, issues working with Photoshop, confusing tutorials, and general frustrations that come with learning a new skill. The Internet is a vast space, full of lots of fantastic info – and if you still can’t figure it out, my inbox is always open to try and help you out!
Here’s one of the best tutorials out there when it comes to how to make a cinemagraph!
A million high-fives to Meagan for giving us a look into her cinemagrapher mind!
Love moving imagery? Then, check out some more cinemagraphs and GIFS from Jennifer Moher and Todd Hunter McGaw.
